
How To Plan An Art Project
📖 Table of Contents
I remember the first time I tried to plan an art project without a budget in mind. I thought it would be simple—just paint, create, and hope for the best. That week alone, I spent $250 on materials I didn’t need and ended up with a half-finished canvas that felt like a waste of time and money. I learned the hard way that even the most inspiring art project needs financial planning. That’s why I’m writing this: to help you avoid that same frustration and turn your creative vision into a financially smart reality.
Planning an art project isn’t just about choosing the right colors or sketching the perfect design. It’s about mapping out every dollar you’ll spend, every resource you’ll need, and every step you’ll take to bring your idea to life. If you’ve ever found yourself mid-project, wondering how much you’ve spent or whether you can afford to keep going, you’re not alone. But with a clear plan, you can track your spending, avoid waste, and even turn your art into a sustainable income stream.
Let me walk you through a process that’s worked for me and dozens of artists I’ve coached. It’s not about cutting corners—it’s about making every dollar count. Whether you’re working with a $50 budget or planning a large-scale exhibition, you can build a plan that respects your financial limits and fuels your creativity. I’ll show you how to set goals, allocate funds, and keep your project on track, all while staying within your means.[1]
Why You'll Love This Planning Method
- You’ll avoid unnecessary spending by tracking every expense in advance.
- You’ll have a clear roadmap that keeps your project on schedule and within budget.
- You’ll be able to plan for unexpected costs without breaking the bank.
- You’ll turn your art into a long-term income source with smart financial planning.
Set Your Financial Goals
As of September 2026, before you pick up a brush or start sketching, you need to know how much you’re willing to spend and where that money will go. I set a hard limit of $100 per project when I first started, and I kept a running total in a shared Google Sheet with my partner. This helped me see where I was overstepping and where I could be more efficient.[2]
Your financial goals can vary: you might be working to cover materials, or you might be aiming to sell your artwork within a certain timeframe. I once set a goal to sell my work within 30 days, which forced me to focus on creating pieces that had clear market value and to track my expenses more carefully.
Setting clear financial goals gives you direction and helps you make smarter choices. I found that when I knew my budget was limited, I was more likely to use secondhand materials or collaborate with other artists who had resources I didn’t.
Use a spreadsheet or app like Mint to track every dollar you spend on your project. It keeps you honest.
Break It Into Steps
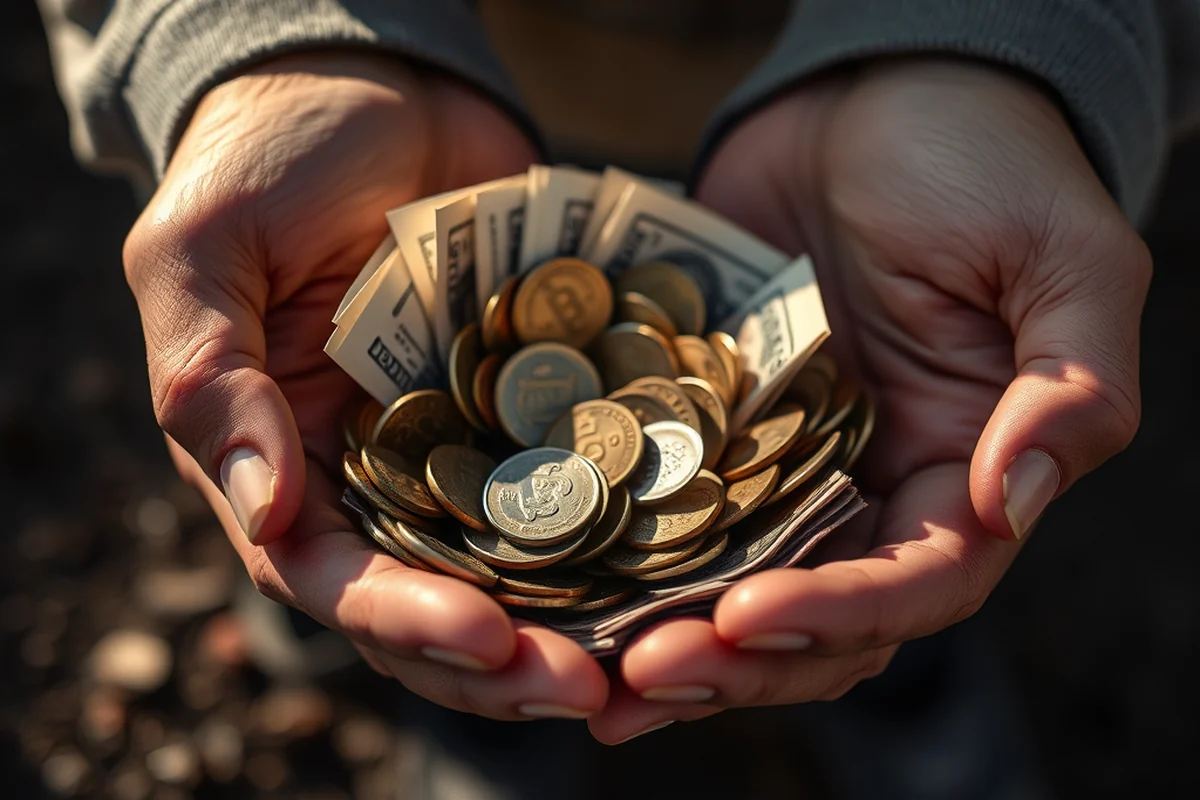
I split my art projects into four main steps: research and planning, material gathering, creation, and marketing. Breaking it into smaller steps made the entire process feel less daunting and more structured.
Each step requires a different set of resources and budget allocations. For example, the research phase might involve buying books or attending workshops, while the marketing phase might include printing materials or paying for online ads.
I found that when I clearly labeled each step, I was less likely to skip parts of the process or spend money on things that didn’t align with the project’s goals. It also helped me identify what I needed to buy first and what I could do later.
Small steps lead to big finishes.
Related: Guidelines for planning visual art exhibition
Track Expenses in Real Time
I always keep a notebook or app on my phone where I log every expense as soon as it happens. I once bought a pack of brushes for $35 and didn’t log it until two days later. When I saw it in my total, I realized I was already over my budget and had to make a choice: buy a second brush set or cut back elsewhere.
Real-time tracking helps you adjust your spending on the fly. I’ve used apps like Expensify and Google Sheets to track expenses, and I’ve found that the more I track, the more I understand where my money goes and where I can save.
One of the biggest benefits of real-time tracking is the sense of control it gives you. I used to feel like I was always running out of money. Once I started tracking, I saw that I was spending more on supplies than on marketing, and I shifted my budget accordingly.
Use a free app like Toggl or create a simple spreadsheet to track every purchase, no matter how small.
“I remember the first time I tried to plan an art project without a budget in mind.”— Financial Planning for Artists editors
Related: Artist plan chest for sale
Plan for the Unexpected

No matter how well you plan, unexpected costs can come up. I once had to replace a canvas because it was warped, and I had to buy new materials mid-project. I hadn’t planned for that, and it nearly put me over my budget.
To avoid being caught off guard, I now set aside 10-15% of my total budget for unexpected expenses. That way, if I need to buy more paint or replace a broken tool, I have the money ready instead of scrambling.
I’ve also used a separate savings account for my art projects, which helps me avoid using my daily spending money for things I shouldn’t. It’s a small habit that makes a big difference in the long run.
Related: Art agenda reviews
Create a Timeline
I used to start a project and spend weeks on one part, only to realize I had little time left for the rest. I now create a timeline with clear deadlines for each step, using tools like Trello or Notion to stay on track.
For example, I might set a deadline of two weeks for research, one week for gathering materials, three weeks for creation, and one week for marketing. This gives me a clear sense of how long the project will take and where I need to focus my time and energy.
I’ve found that having a timeline helps me avoid procrastination and ensures that I don’t rush through parts of the project that need more attention. It also helps me plan for expenses that might come up at specific points, like buying supplies before the creation phase starts.
Related: Planner for artists
Evaluate and Adjust
I review my project every two weeks to check where I’m spending, how long I’ve taken on each step, and whether I need to adjust my plan. This helped me catch a mistake early on when I was using the wrong type of paint, which could have cost me hundreds of dollars.
Reviewing your project allows you to make changes before they become big problems. I once realized I was spending too much on materials and shifted my budget to focus more on marketing instead.
I use my reviews to celebrate small wins and adjust my strategy when needed. It’s a way to stay flexible without losing sight of my overall goals.
Review to improve, not to criticize.
Related: Planner drawing ideas easy
Plan for Long-Term Income
I used to think of art projects as short-term efforts, but now I plan each one with the goal of turning it into a long-term income source. I set aside a portion of the proceeds from each project to reinvest in future ones, which helps me build a sustainable creative business.
I’ve also started selling prints and digital versions of my work, which gives me an ongoing income stream without having to create new projects every time. This has helped me reduce my reliance on one-time sales and build a more stable financial foundation.
Planning for long-term income means thinking about how each project can contribute to your overall financial goals. Whether it’s selling your work, offering workshops, or creating a subscription model, there are always ways to turn your art into a revenue stream.
💰 Budget-Friendly Plan
Maximize creativity with minimal spending by using secondhand materials and free tools.
🚀 Aggressive Payoff Plan
Invest in high-quality materials and marketing to boost sales and generate faster income.
🧾 Irregular Income Plan
Plan around unpredictable cash flows by using savings and low-cost strategies.
👫 Couples Art Plan
Split responsibilities and expenses with a partner to reduce costs and share workload.
🎨 Beginner’s Plan
Focus on learning and practicing with affordable materials and clear financial goals.
| The mistake | Why it happens | The fix |
|---|---|---|
| Not tracking expenses from the start | Without tracking, it’s easy to overspend and lose sight of your budget. | Log every expense immediately using a notebook, app, or spreadsheet. |
| Ignoring unexpected costs | Unforeseen expenses like damaged materials or last-minute purchases can derail your budget. | Set aside a buffer of 10-15% of your total budget for unexpected needs. |
| Overinvesting in materials early on | Spending too much upfront can leave you with little money for marketing or future projects. | Start with affordable materials and upgrade only as needed based on your project’s progress. |
| Not reviewing your plan regularly | Without regular reviews, you might miss opportunities to adjust your strategy or save money. | Review your project every two weeks to stay on budget, on schedule, and on track with your goals. |
How To Plan An Art Project
Common Questions
How can I track my expenses without a budgeting app?
What if I can’t afford high-quality materials?
How do I decide how much to spend on marketing?
Should I save for future projects from each project’s income?
References
- Crossing the Street - DC Office of Planning (planning.dc.gov)
- Wabanaki Studies 9-12 Art Educator Guide - Maine.gov (maine.gov)
Cite this guide
Financial Planning for Artists (2026). How To Plan An Art Project. https://artplanflow.com/how-to-plan-an-art-project/
Feel free to cite or share this guide.